Wendland Roof Lantern Installation Guide: A Step-by-Step Walkthrough

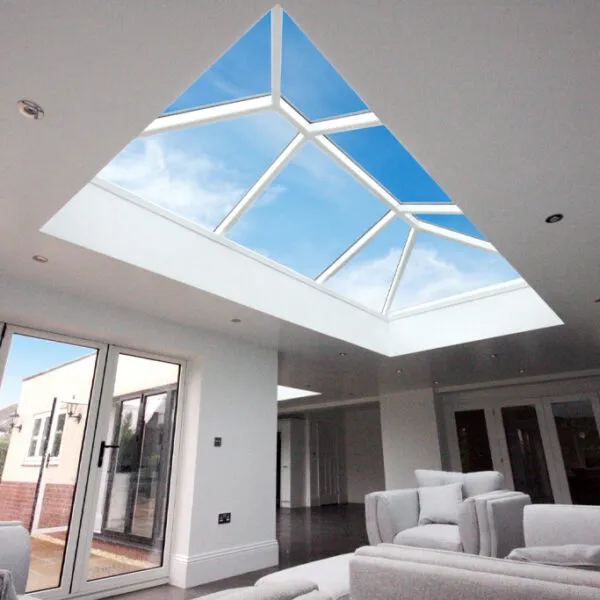
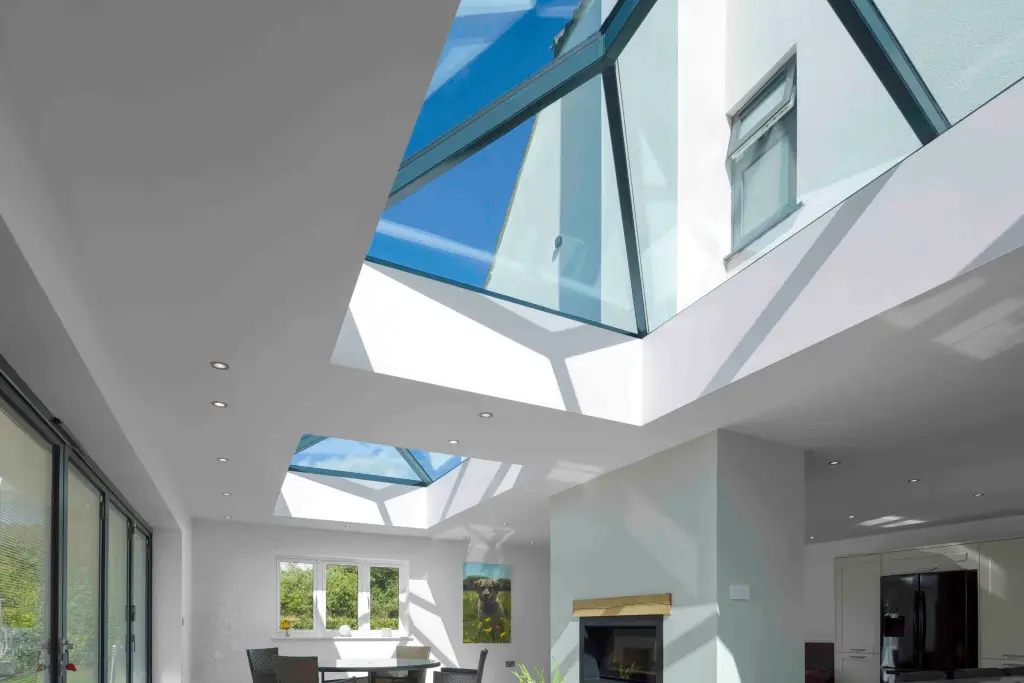
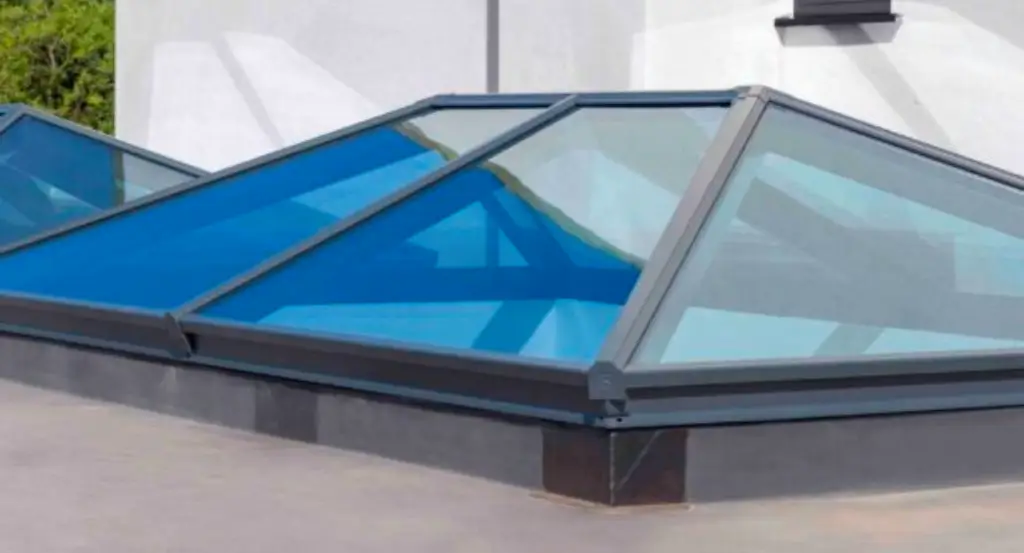
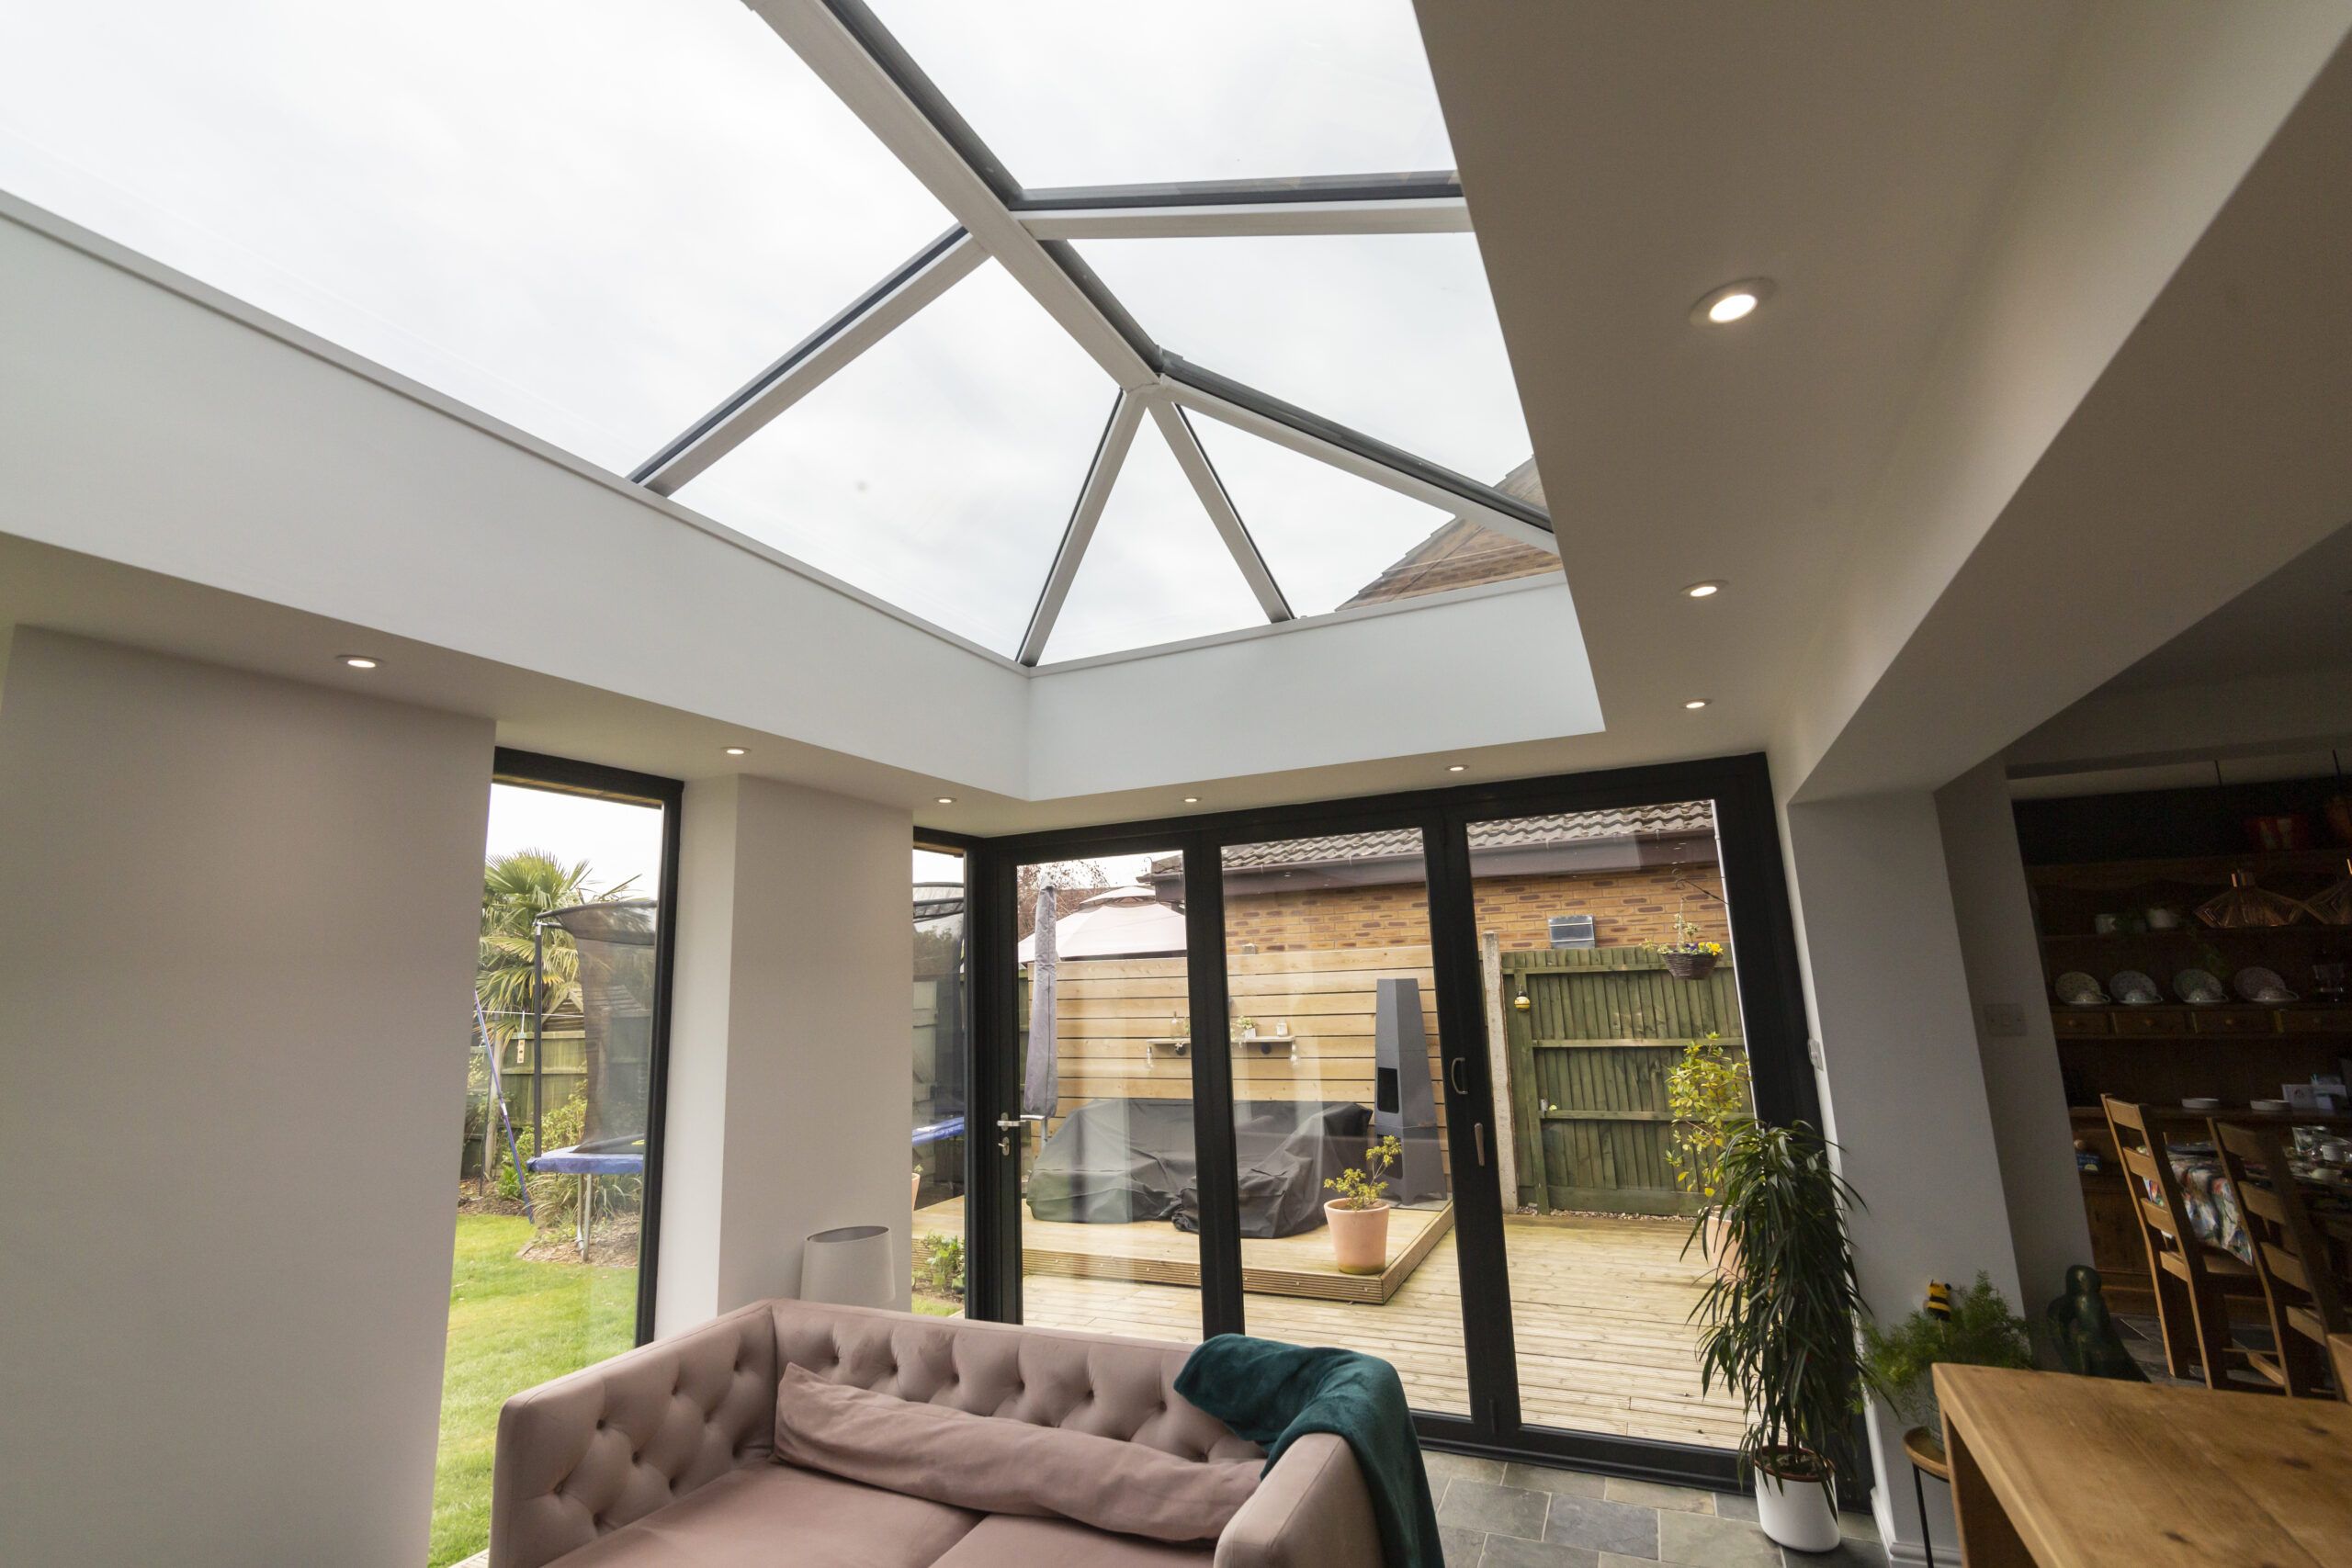
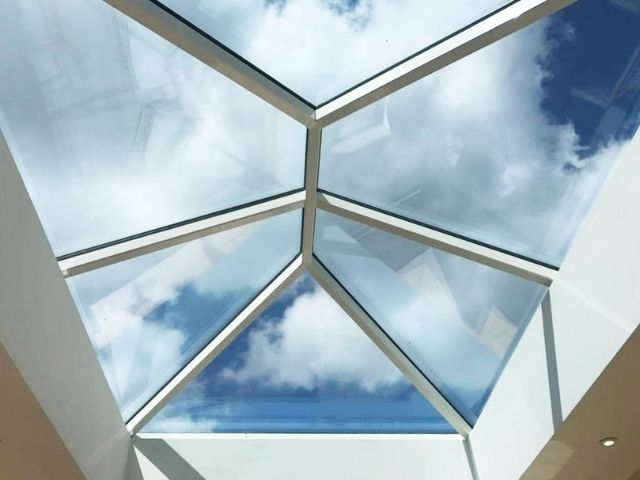
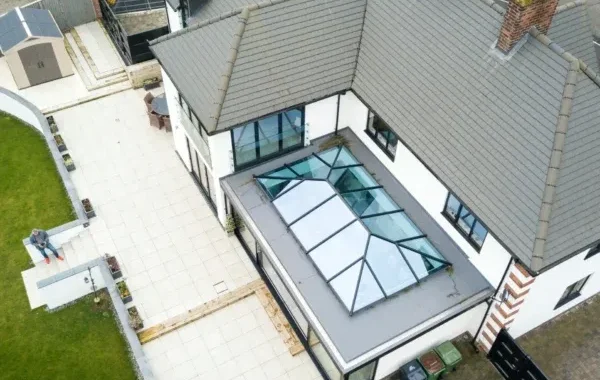
The Wendland Roof Lantern is a stylish and practical solution for bringing abundant natural daylight into flat roof spaces such as extensions, orangeries and single-storey living areas. Designed with a strong ridge and minimal bars for maximum glass area, it blends contemporary aesthetics with solid 

thermal performance. This guide explains each stage of a typical Wendland Roof Lantern installation for both homeowners and professional installers. 

Understanding the Wendland Roof Lantern System 

Wendland Roof Lanterns are engineered to maximise daylight while maintaining strong structural integrity. Many models feature a reinforced ridge system that reduces the need for multiple glazing bars, creating cleaner sightlines and a modern appearance. 

They are typically supplied with high-performance, self-cleaning toughened safety glass and can be customised with different frame finishes and glazing options. Explore the Wendland Roof Lantern range. 

Preparing the Roof Opening and Upstand 

Correct preparation of the builder’s kerb or upstand is essential. 

Key requirements include: 

– A level, square upstand with accurate internal dimensions 

– A minimum upstand height compliant with building regulations 

– A fully installed and dressed waterproof membrane 

For detailed guidance, see flat rooflight upstand requirements

Positioning the Roof Lantern 

The lantern is usually supplied pre-assembled. 

Steps: 

1. Lift into position using appropriate handling equipment 

2. Lower carefully onto the upstand 

3. Check alignment and level before fixing 

Fixing the Lantern 

Secure the lantern through the designated fixing points using suitable fixings. Tighten evenly to avoid frame distortion. 

Weatherproofing and Sealing 

Apply the recommended sealant between the lantern base and the upstand. Dress the roof

membrane neatly to the frame edge and ensure all junctions are fully sealed. 

Glazing Performance and Thermal Efficiency 

Wendland Roof Lanterns use high-performance glazing to reduce heat loss and manage condensation. For more information, see roof lantern glass options.

Final Checks and Maintenance 

After installation: 

– Inspect all fixings and seals 

– Clean the glass surface 

– Remove installation debris 

Maintenance includes periodic cleaning and annual seal inspection. 

Why Choose The Rooflight Centre? 

The Rooflight Centre is the e-commerce division of Lonsdale Metal Company, a fourth-generation family business founded in 1954. Learn more About The Rooflight Centre

We provide: 

– High-performance rooflights 

– Fair pricing 

– Fast delivery 

– Dedicated expert support 

Summary

The Wendland Roof Lantern offers a reliable and visually striking solution for flat roof spaces. For advice or support, contact our team.

Korniche Roof Lantern Installation Guide: A Step-by-Step Walkthrough

Installing a Korniche Roof Lantern is one of the most effective ways to transform a space with natural light, modern styling and exceptional thermal performance. Whether you are a homeowner wanting to understand the installation process, or a professional installer preparing for the job, this guide provides a balanced and comprehensive walkthrough. Korniche lanterns are known for fast, accurate installation and engineering precision — but correct preparation and careful assembly remain essential for achieving a flawless finish. Explore our full range of Korniche Roof Lanterns.

Understanding the Korniche System

The Korniche Roof Lantern is engineered using thermally broken aluminium, high-performance glazing and accurately machined components. This design delivers outstanding rigidity while maintaining slim, elegant sightlines. For installers, this means fewer parts and a quicker installation. For homeowners, it means maximum daylight, cleaner aesthetics and excellent energy efficiency. Before starting, always check the manufacturer’s instructions and ensure all parts are present and undamaged.

Preparing the Roof Opening and Upstand

A precise, well-built upstand is the foundation of a successful installation. This timber kerb must typically be at least 70mm wide and raised around 150mm above the finished roof level to meet building regulations.

Ensure that:

  • The internal upstand dimensions match the ordered lantern size
  • All sides are level, straight and perfectly square
  • The roof membrane is correctly installed and fully weatherproof

For deeper technical guidance, see our roof lantern upstand requirements page.

Positioning the Eaves Beam

The eaves beam forms the outer frame of the lantern and must be positioned with precision. Steps:

  1. Lay each eaves beam section on the upstand.
  2. Align the mitred corners so they meet cleanly without gaps.
  3. Fix the beams securely using suitable screws for the roof structure.
  4. Fitting the Rafters and Ridge

Once the perimeter frame is secure, the Korniche system allows rapid assembly of the structural elements.

Steps:

  • Insert the ridge section into the central slot on the eaves frame.
  • Position each rafter into the pre-engineered connection points.
  • Tighten all fixings evenly, checking alignment as you go.

Installing the High-Performance Glazing

Glazing is crucial to thermal and aesthetic performance. For more detail, visit our roof lantern glass

specifications page.

Seals, Caps and Finishing Touches

Final steps include:

  • Ensuring all glazing caps have fully clicked into place
  • Fitting ridge and rafter top caps
  • Securing all end caps

Post-Installation Checks and Homeowner Maintenance

Basic upkeep keeps your lantern performing at its best:

  • Inspect seals and frames periodically
  • Clean glass with mild soapy water
  • Keep roof areas clear of debris

Why Choose The Rooflight Centre?

Learn more About The Rooflight Centre.

When you choose The Rooflight Centre, you can expect:

  • High-performance rooflights
  • Fair and transparent pricing
  • Fast delivery
  • Dedicated support from a knowledgeable team

Summary

For project support or guidance, For advice or support, contact our team.

Korniche Roof Lantern Measurement Guide

When it comes to installing a roof lantern, getting your measurements right the first time is absolutely essential. The Korniche Roof Lantern is one of the most advanced and precision-engineered products on the market – which means accuracy matters. Measuring correctly ensures a perfect fit, a watertight installation, and the stunning slimline finish that Korniche is known for. 

At The Rooflight Centre, we’ve created this practical measurement guide to help both homeowners and installers achieve the best results with Korniche roof lanterns. Follow the steps below to make sure your lantern fits seamlessly and performs exactly as designed. 

Explore our full range of Flat Roof Windows and Korniche roof lanterns today. 

Continue reading “Korniche Roof Lantern Measurement Guide”

Why Should I Purchase a Korniche Roof Lantern?

When purchasing a roof lantern, you have plenty of options. However, with numerous variations available from different manufacturers, it can make selecting the right unit challenging. 

This choice matters more than ever, with many homeowners looking to enhance their living spaces through high-quality, energy-efficient upgrades. Roof lanterns are increasingly valued for their ability to transform interiors, add natural light, and create a stronger connection between indoor and outdoor areas.

Continue reading “Why Should I Purchase a Korniche Roof Lantern?”
Spinner Loading your options